Thursday, January 19, 2006

Basic Priming


The main reason for priming is to protect the canvas or board from the destructive qualities of oil paint.

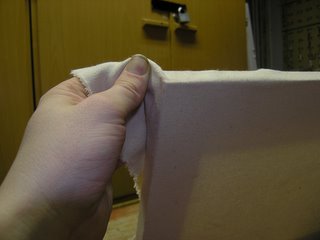
Acrylic paint can be used straight on to the surface or support (the support is your canvas, board or paper) but you may want to prime or use a transparent glue size (thinned PVA or rabbit skin glue) to give you a non absorbent surface so your paint doesnt get soaked up into the canvas or board.
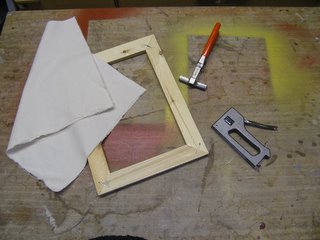
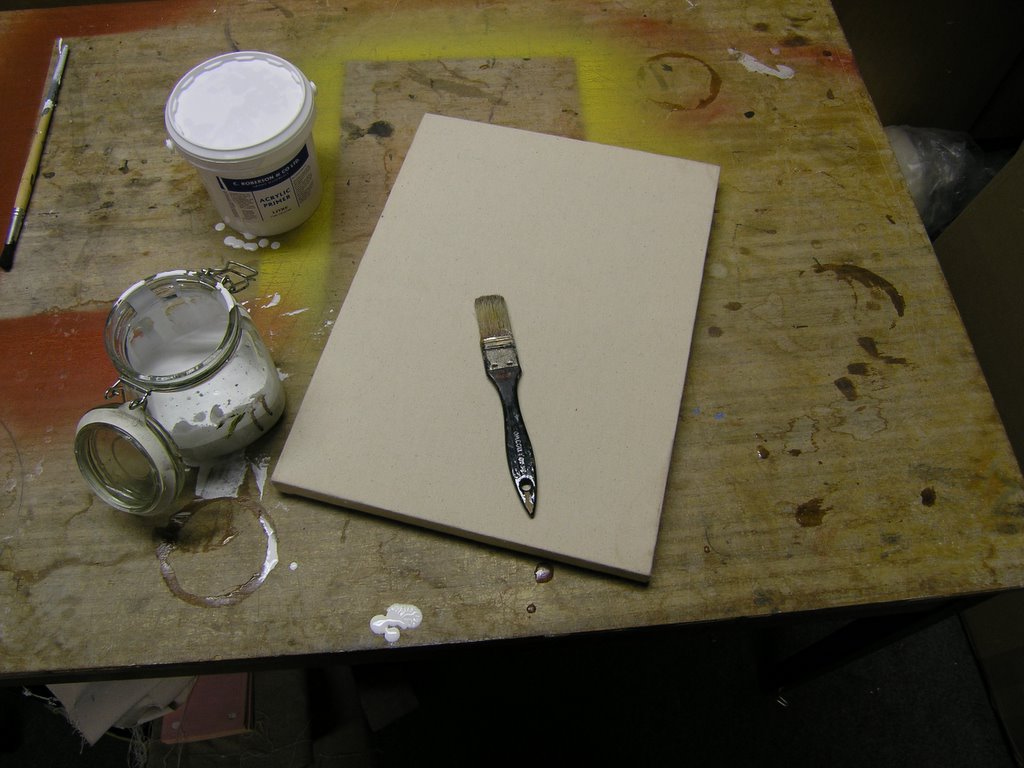
you will need!

a canvas or board
a priming brush
water and primer
a spare jar or tub


if you dont have (or cant get) an acrylic primer you can make a cheap version using 2 parts emulsion and 1 part PVA Glue.

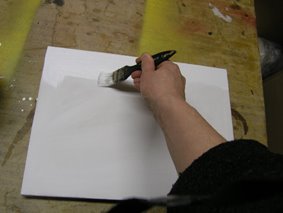
First you need to mix up a weak solution of primer about half water half primer. This will be your first coat this is to seal in all the little gaps between the canvas


Next, very simply apply enough coats of pure primer until you have the surface you require probably 2 or 3.

Be careful to apply each coat in different directions to ensure an even coverage.


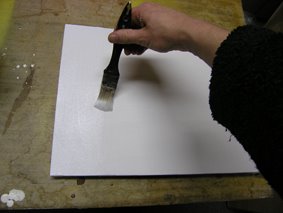
If you have any lumps or imperfections in the surface using fine sandpaper these can be removed.

If you are priming a smooth board (mdf or hard board) you may wish to give each coat a light sanding to remove brushmarks. Also if you thin the primer down a little the brushmarks will dissapear as the paint dries. Be aware this also means that more layers will be needed to cover the surface.

Wednesday, January 11, 2006

Canvas Stretching

  1. Start by placing the stretcher on top of the canvas
  2. Then staple in the middle of each length pulling the canvas reasonably tight following the numbers
  3. Now, the next circuit of staples starts to the right of the first staple you put in. Then the right of the other middle staples
  4. The next circuit follows the same rationale but to the left of your original staple on each side
  5. On this example this many staples is enough to get to the corner but obviously with a larger canvas you will need to keep going around until you have got to the corners
  6. There are a different ways to fold the corners so I will try to will explain the easiest and neatest, first of all turn the canvas so the front (the surface you will paint on) faces you, then taking hold of the loose material as shown, you then need to stretch the material over the corner without putting a hole in the canvas by pulling it over the corner a bit like hanging a coat on a peg.
  7. Quickly staple one side so you have a free hand
  8. Then if you have ever roofed a shed or made a bed using hospital corners you will understand this bit. The picture is not great but the idea is that you tuck the fold underneath the material so you cant see it. Keep practising this bit if you dont get it straight away 
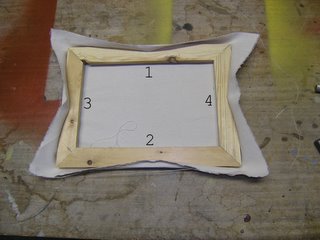
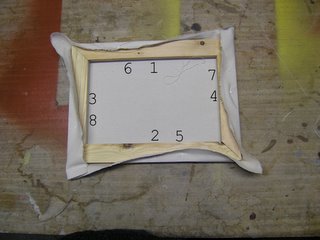
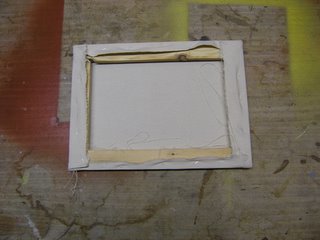
Always go directly opposite your previous corner
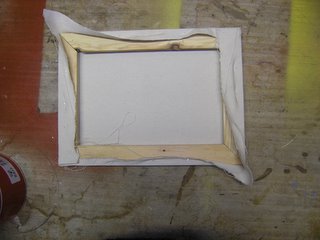
  9. The back should look something like this, if during painting the canvas becomes looses all you need to do is spray or sponge the back with water this will tighten the canvas back to the state just after primimg

Canvas Stretching - you will need


Happy New Year!

I am going to start the year with a canvas stretching masterclass! You will need;


  1. A wooden stretcher or strainer (the stretcher pictured is actually not a stretcher because it has no canvas keys which are the little bits of wood or plastic that can be used to stretch out the frame and make the canvas tighter) Although I will refer to it as a stretcher (confused yet?)
  2. A Staple Gun
  3. Canvas Pliers if needed, these can help if your fingers are not very strong or if you are stretching very large canvas's
  4. Canvas, this should be 3 inches larger than the stretcher on all sides

Tuesday, December 27, 2005

Future Posts


I think this is more a post for me than you so you can all relax and finish your christmas lefttovers! Future posts should include:

canvas stretching
priming & explanations of size, grounds etc.
glazing. how to and recipes - this could be a series.. weekly?
paper stretching

and other things that in my christmas stupor i dont care about right now so that will do! Back to the brandy!

merry merry,

Thursday, December 15, 2005

Gesso Recipe


Making Gesso is a time consuming & messy process - but other than buying a ready made acrylic gesso it is the only way to get that lovely toothy, chalky, matt surface.

Gesso is traditionally used as a ground or primer for Oil painting, tempera, or encaustic. Not suitable for use on canvas unless the canvas is stretched over a board.

I have included a recipe (below) for making it up. The recipe makes a fair bit so make sure you have plenty of boards to prime.

Recipe:


70-85g (2.5-3oz)Rabbit skin glue this can vary depending on the strength of glue. to test make a batch up and allow it to set. If it breaks up like porridge whe you put yoiur finger in it it is perfect but if it splits like jelly It is too strong for gesso but ideal as a Sizing mix.
1.137 litres (2 pints) of water

450 g (1 lb) of whiting
50 g titanium white pigment (swap this 50g of pigment with equal amount of whiting)

You will also need:
A stirrer – A priming brush – Metholated Spirits – fine sandpaper/wet’n’dry – A Double boiler – boards (MDF is best but small bits of hardboard will do as well)


Using the top of the double boiler add the R.S.G. to two pints of water and leave to soak for at least two hours

While the glue is soaking clean up boards with metholated spirits

After 2 hours gently heat the R.S.G. mixture In the double boiler until all the granules have disappeared

Then add some water to a small amount of R.S.G. to make a weaker solution to ‘size’ your boards - this will help the gesso to stick and not soak into the board

Transfer most of the R.S.G. mix to another container and mix the rest to a paste using the white pigment and whiting

Slowly begin to add the rest of the R.S.G. stirring all the time to ensure no lumps occur (this part of the process is a bit like making white sauce)

The gesso should be kept warm throughout the process if it cools and sets it is useless

Apply the Gesso in very thin coats and stir continuously otherwise you will risk a lumpy inconsistent surface

Make sure each coat is dry before adding the next and if necessary sand with fine sandpaper between each coat

Allow the boards to dry overnight before painting on them.

The Painting Technician

Welcome one and all to the new Painting Technician blog. I hope to include all kinds of painting technique materials etc for my own students and anyone else who is interested. Please ask me any questions or requests for recipes technique etc and I will try my best to accomodate you!